Inspecting Bolts for Cracks and Corrosion Using the Mentor UT (PAUT)

Bolt integrity is critical across UK industries such as power generation, oil & gas, infrastructure, aerospace, and rail. Fasteners experience continuous cyclic loading, vibration, and temperature variation. Over time, these conditions can generate fatigue cracking at the shank, thread roots, or under-head fillet, as well as corrosion within the bolt body. These defects often develop internally long before any change is visible.
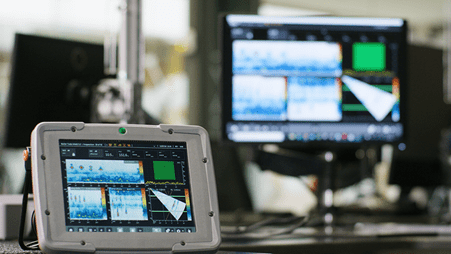
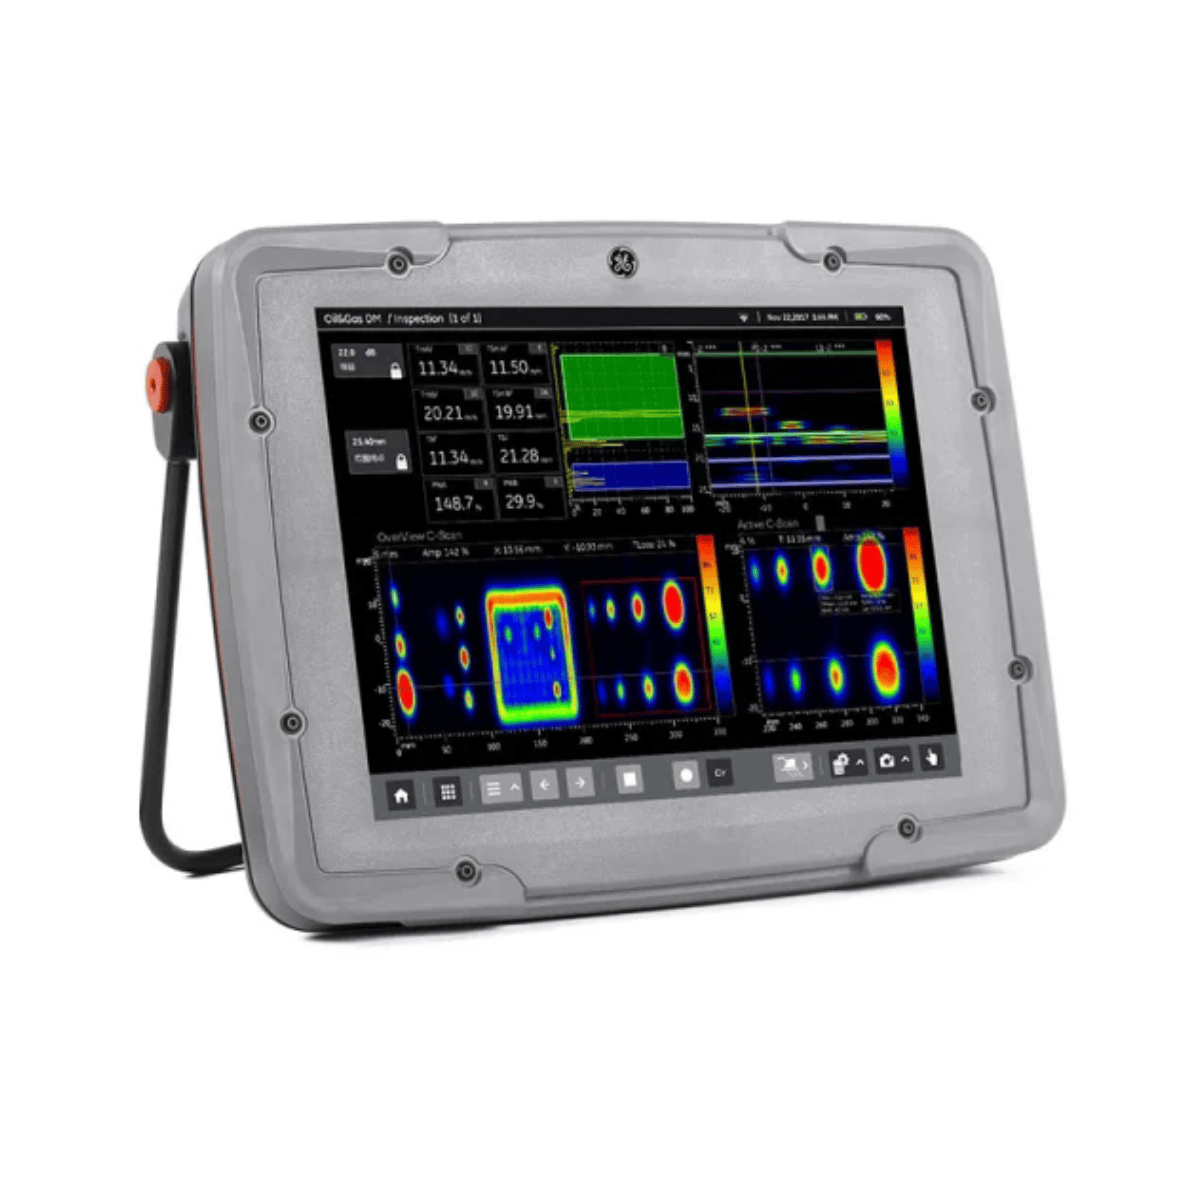
The Waygate Technologies, Krautkrämer Mentor UT is a Phased Array Ultrasonic Testing (PAUT) system that gives inspectors a reliable method to assess bolt condition in situ. The built-in Bolt Inspection App standardises the scan and removes operator variability, making it suitable for routine maintenance and asset-integrity programmes
Equipment Configuration

-
Mentor UT tablet (32-element PAUT base kit)
-
GE0600417 probe — 4 MHz, 16 elements, 1.5 mm pitch, 24 mm aperture
-
Standard ultrasonic couplant
-
Optional bolt-rotation fixture for repeatable scans
The Mentor UT Bolt Inspection App is built in with customisable and guided workflow that allows operators to scan the entire bolt in place, capturing a 360° volumetric view of its condition. Within seconds, it can identify internal cracks, corrosion, or mechanical deformation without removing the bolt.
Understanding the Mentor UT PAUT Results

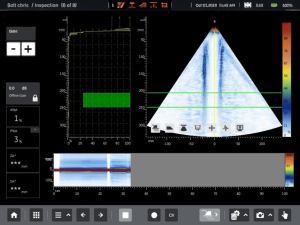
1. Sectorial Scan (S-scan)
-
Shows the full refracted angle sweep used to interrogate the bolt.
-
The central high-amplitude vertical response represents the bolt axis/backwall.
-
Colour shading (blue to red) indicates amplitude.
-
Cracks typically present as interruptions or discrete reflectors that break the symmetry of the S-scan.
2. A-scan (Depth-based amplitude)
-
Used for depth confirmation and sizing.
-
A clean bolt shows a stable backwall echo with minimal intermediate reflections.
-
A repeatable mid-path indication may suggest a fatigue crack or corrosion pit.
3. Linear / Time-of-Flight View
-
Displays amplitude vs probe rotation.
-
A continuous horizontal band indicates uniform material.
-
Localised spikes or colour breaks flag corrosion, thread-root cracking, or deformation.
Interpreting the Scan
-
The image shows a consistent central backwall response with no obvious reflector cutting through the sound path.
-
Blue attenuation bands on each side match expected bolt geometry.
-
Evaluation gates appear positioned for thread zone and mid-shank monitoring.
-
The bottom linear display shows a continuous red backwall with no isolated high-amplitude spikes.
This pattern is typical of a bolt without significant internal cracking or corrosion. A technical report would document this as a clean scan. Results can be exported as a PDF report or shared live with your team directly from the field.
Applications
-
Oil & Gas: flange bolts, pressure-retaining fasteners
-
Power Generation: turbine casing bolts, couplings, high-load structural connections
-
Aerospace & Defence: landing gear bolts, engine mounts
-
Rail & Infrastructure: bridge bolts, anchor bolts, track fasteners
-
Marine: deck fittings, exposed structural fasteners

